
White Button Mushroom Substrate Recipe
Share
White Button Mushroom Substrate Recipe
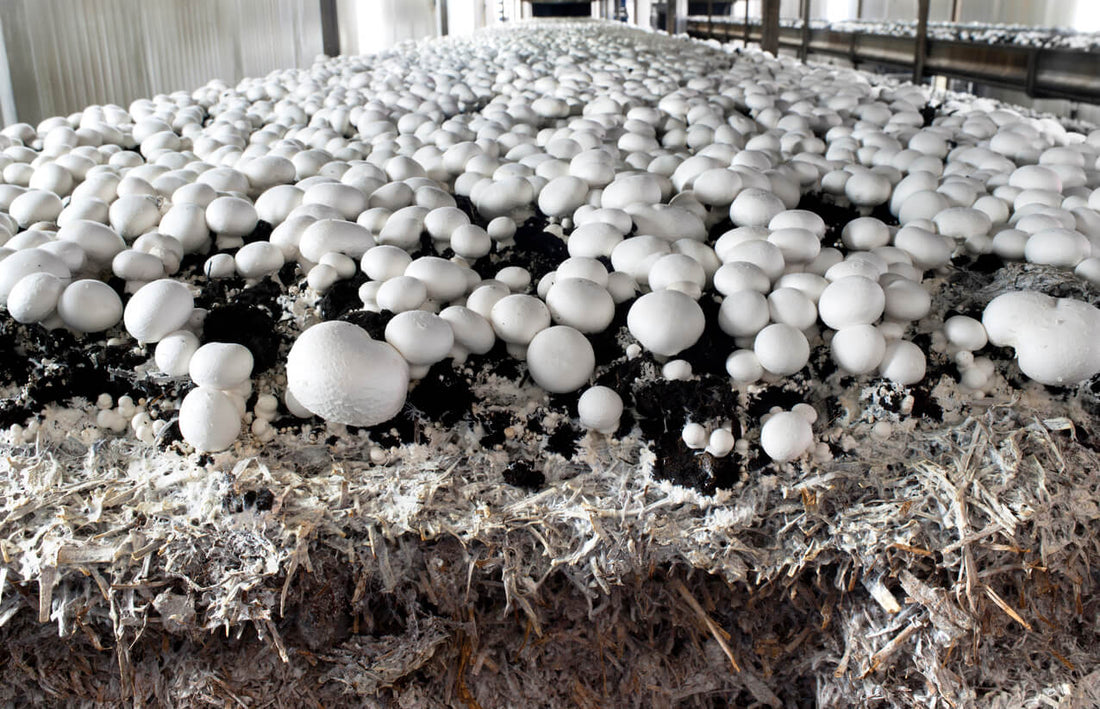
White button mushrooms (Agaricus bisporus) are a popular and versatile variety, prized for their mild flavor and versatility in cooking. Unlike many other mushroom species, button mushrooms require a specialized substrate called "compost" to grow. This guide will walk you through the process of creating the perfect compost for white button mushrooms.
Understanding White Button Mushroom Substrate
White button mushrooms are secondary decomposers, meaning they rely on bacteria to break down cellulose materials before they can access the nutrients. The substrate, or "compost," needs to be at a specific stage of decomposition—partially broken down but not fully decomposed. This delicate balance is crucial for successful cultivation.
Ingredients for White Button Mushroom Substrate
For this recipe, we'll use a combination of materials that provide the necessary nutrients and structure:
- 50% fresh horse manure with straw bedding
- 50% wheat straw
- Small amount of gypsum (calcium sulfate)
Equipment Needed
- Large mixing area with a hard floor
- Water source (hose or large tank for soaking straw)
- Thermometer
- Pitchfork or similar tool for turning compost
- Tarpaulin or large plastic sheet
- Personal protective equipment (gloves, mask, and safety glasses)
Step-by-Step Substrate Preparation
1. Prepare the Straw
- Soak the wheat straw in water for 2-3 days. This initiates fermentation and ensures thorough hydration.
- After soaking, drain the straw but keep it moist.
2. Build the Compost Pile
- In your mixing area, spread a 15cm layer of soaked straw in a 1.5m x 1.5m area.
- Sprinkle a generous handful of gypsum over the straw.
- Add a similar layer of horse manure with bedding.
- Repeat these layers until you have a mound about 1.5-2m high.
3. Initial Composting
- Cover the pile with a tarpaulin or plastic sheet to prevent drying out.
- Leave for about 2 days. The pile should start to heat up.
- After 2 days, turn the compost thoroughly, loosening it up as it will have started to compact.
- Repeat this turning process every 2 days.
4. Monitor Temperature and Moisture
- The compost pile should reach temperatures of about 70°C (158°F) during the process. This natural heating helps pasteurize the compost.
- Maintain moisture levels. The compost should feel damp but not soggy.
- Continue turning and monitoring for about 2-3 weeks.
5. Assess Compost Readiness
The compost is ready when:
- It no longer heats up significantly after turning
- It has a dark brown color
- The straw is soft and pliable
- There is no ammonia smell
6. Final Pasteurization (if needed)
If you're working with smaller quantities or the compost didn't heat sufficiently:
- Place the compost in heat-resistant containers.
- Use a large pot, pressure cooker, or custom steaming setup to heat the compost to about 60°C (140°F) for at least 30 minutes.
- Allow the compost to cool to room temperature before use.
Preparing for Mushroom Growth
Once your compost is ready:
- Ensure the compost is below 30°C (86°F) before adding mushroom spawn.
- The compost should be moist but not dripping when squeezed.
- Mix in mushroom spawn at about 3% of the compost's dry weight.
Conclusion
Creating the perfect substrate for white button mushrooms requires patience and attention to detail. This composting process creates an ideal environment for button mushrooms to thrive. Remember, the key to success lies in achieving the right balance of decomposition—neither too much nor too little.
With practice, you'll develop a feel for the right texture and smell of properly prepared compost. This skill is crucial for consistent success in growing white button mushrooms.
Happy composting, and may your mushroom harvests be bountiful!