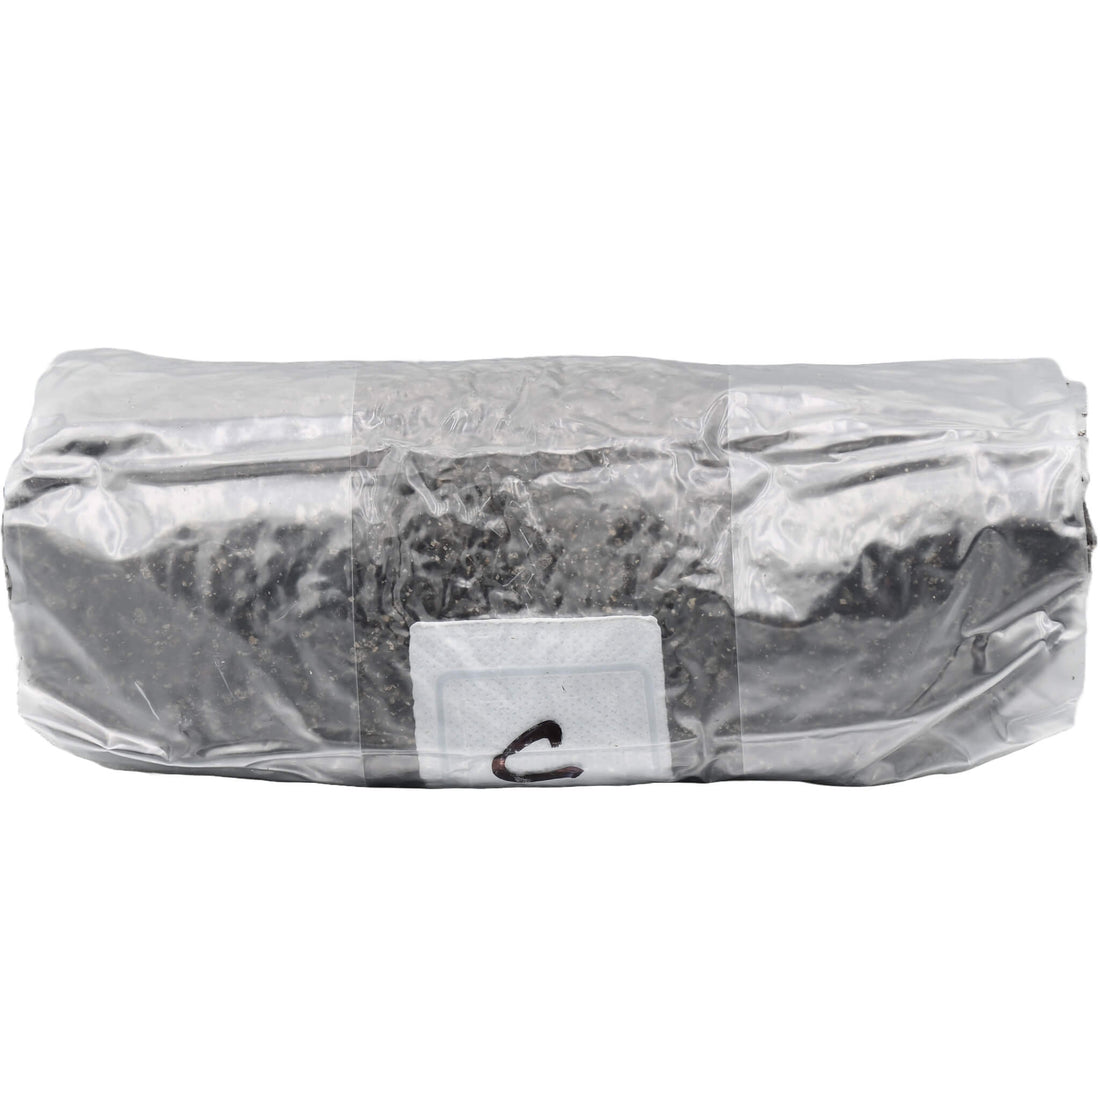
How to Use Mushroom Substrate Casing Soil - 1lb
Share
How to Use Mushroom Substrate Casing Soil - 1lb
Preparing a Clean Workspace
Before working with the Mushroom Substrate Casing Soil - 1lb, it’s crucial to maintain a clean and sanitized environment to prevent contamination. Using a laminar flow hood or still air box is ideal, but you can still reduce contamination risks by following these steps:
- Disinfect your workspace with rubbing alcohol or a similar sanitizing agent to remove dust and contaminants.
- Avoid working in areas with airflow from fans, air conditioners, or heaters, as these can introduce airborne contaminants.
- Wipe down the casing soil bag with rubbing alcohol before handling it to ensure a sterile surface.
- Sanitize your hands and any tools before working with the casing soil.
Maintaining a clean environment is critical to achieving successful results with your mushroom casing soil. If you don’t have access to a laminar flow hood, consider using a still air box to limit airborne contamination during handling.
When to Use Casing Soil
The Mushroom Substrate Casing Soil is designed to be applied once the substrate is 99-100% colonized. Adding a casing layer helps promote a more even pinset, which can lead to higher yields. Casing soil is optional, but many growers find it beneficial for improving overall mushroom production. Casing soil is especially helpful for species that benefit from a micro-climate at the surface of the substrate.
Applying the Casing Soil
1. Prepare Your Casing Soil
The Mushroom Substrate Casing Soil is fully hydrated and pasteurized, making it ready to use right out of the bag. Before applying the casing soil, slightly inflate the bag by pulling apart the gussets to ensure it’s prepared for use.
2. Apply the Casing Layer
Once your substrate is fully colonized, you can apply the casing soil as a 1/4 to 1/2 inch layer on top of the colonized substrate. It’s important that the substrate is fully colonized before applying the casing layer, as adding it too early can increase the risk of contamination.
Gently spread the casing soil evenly over the surface of the substrate, taking care not to press it down too hard. The casing soil should be applied loosely to allow for optimal air exchange and moisture retention.
Maintaining the Casing Soil
After applying the casing soil, you’ll need to maintain proper humidity and airflow to support healthy mushroom growth. Follow these tips for maintaining the casing layer:
- Humidity: Maintain high humidity levels (around 90%) by lightly misting the casing layer with water. Avoid over-misting, as excess moisture can lead to contamination or cause mushrooms to abort.
- Air Exchange: Ensure proper air exchange by fanning your fruiting chamber at least once a day. Fresh air is essential for promoting mushroom pinning and development.
Fruiting After Casing
After applying the casing soil and maintaining proper humidity, you should start to see hyphal knots and primordia forming. These are the early stages of mushroom pinning. Continue misting and fanning the casing soil regularly as the mushrooms grow. Harvest the mushrooms just before the caps fully open to avoid spore release, which can affect future flushes.
Monitoring for Contamination
Although pasteurized, the Mushroom Substrate Casing Soil is still susceptible to contamination if proper cleanliness is not maintained. Watch for unusual colors, slime, or foul odors in the casing soil, as these are signs of contamination. If contamination occurs, discard the affected soil and sanitize your workspace before continuing.
Conclusion
The Mushroom Substrate Casing Soil - 1lb is an excellent tool for creating an ideal fruiting environment for your mushrooms. By following these steps for application and maintenance, you can promote healthy mushroom growth and enjoy higher yields. With the right care, the casing soil will help you achieve successful and abundant flushes.
