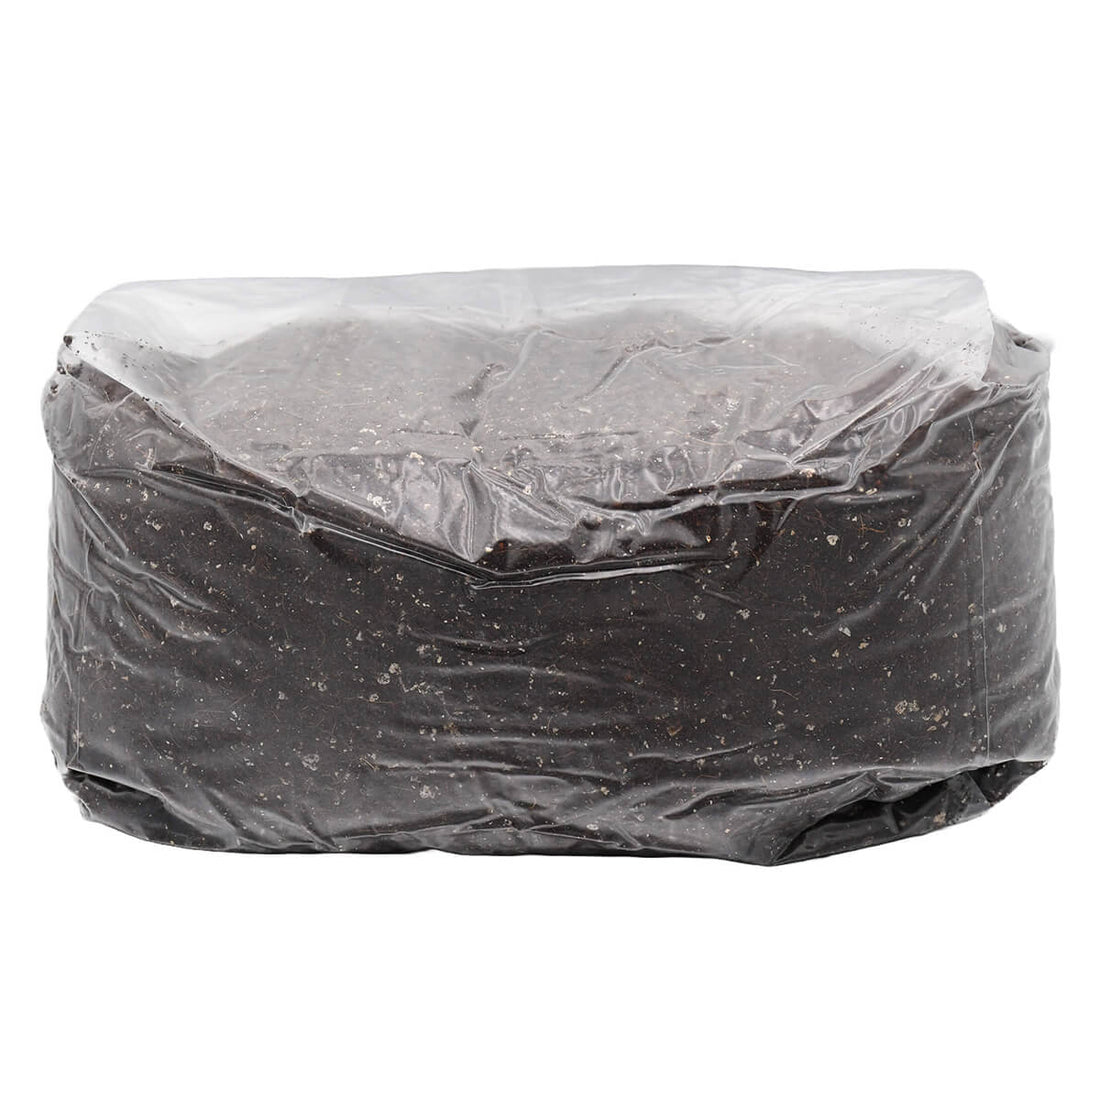
How to Use Manure Mushroom Substrate - 5lb
Share
How to Use Manure Mushroom Substrate - 5lb
Preparing a Clean Workspace
Before working with the Manure Mushroom Substrate - 5lb, it’s crucial to create a clean and sanitized environment to minimize the risk of contamination. While using a laminar flow hood or still air box is recommended, you can still achieve great results by following these steps:
- Disinfect your workspace thoroughly with rubbing alcohol or a similar sanitizing agent.
- Avoid working in areas with airflow from fans, air conditioners, or heating systems, as this can introduce airborne contaminants.
- Wipe down the outside of the substrate bag with rubbing alcohol to remove any surface contaminants.
- Sanitize your hands and tools, such as scissors or knives, before opening the substrate bag.
Creating a clean workspace is essential for successful inoculation and colonization. If you don’t have access to a laminar flow hood, consider using a still air box to reduce the risk of airborne contaminants.
Preparing the Manure Substrate Bag for Inoculation
The Manure Mushroom Substrate is pasteurized and ready for immediate use. Before you begin inoculation, you’ll need to slightly inflate the bag to ensure proper gas exchange through the 5-micron filter patch. Follow these steps to prepare the bag:
- Grasp the opposite gussets of the bag and gently pull them apart, allowing air to enter through the filter patch.
- Repeat this process until the bag is slightly inflated, ensuring it is ready for inoculation.
Inoculating the Manure Mushroom Substrate
1. Prepare Your Spawn
Before inoculating the Manure Substrate, you’ll need colonized grain spawn. Grain spawn can be prepared by inoculating grain jars or grain bags with liquid culture or spore syringes and allowing them to fully colonize over several weeks.
2. Cut Open the Substrate Bag
Once your grain spawn is fully colonized, use sanitized scissors or a knife to carefully cut the top of the substrate bag. Make sure to cut as close to the heat seal as possible, and avoid damaging the bag or the filter patch.
3. Add Your Colonized Grain Spawn
After opening the substrate bag, gently break up your colonized grain spawn. For spawn stored in jars, use a sterilized tool, such as a butter knife, to break up the grains. If the spawn is in a bag, gently massage the bag with your hands to break up the mycelium before adding it to the substrate.
For the best results, inoculate each 5lb substrate bag with about 1 pound (or 1 quart) of colonized grain spawn. You can use more spawn to speed up the colonization process, but 1 pound per 5 pounds of substrate is typically sufficient.
4. Seal the Substrate Bag
Once the spawn has been added, reseal the substrate bag to maintain an airtight environment. The best method for sealing is to use an impulse sealer. If you don’t have an impulse sealer, you can fold the bag over several times and secure it with large paper clips or tape. Avoid using micropore tape, as it won’t create the airtight seal necessary for proper colonization.
Incubating the Manure Substrate
After inoculating the substrate, place the sealed bag in an upright position, ensuring the 5-micron filter patch remains unobstructed to allow for proper gas exchange. Store the bag in a room-temperature environment (between 65-75°F) and away from direct sunlight.
The colonization process typically takes 3-4 weeks, depending on the environmental conditions and the genetics of the mushroom strain. During this time, monitor the bag to ensure even mycelial growth. If the growth seems slow, check that the filter patch is unobstructed and there’s enough airflow.
Introducing Fruiting Conditions
Once the substrate is fully colonized, you can begin introducing fruiting conditions to encourage mushroom growth. Look for the appearance of hyphal knots, small white bumps that are the first signs of mushroom pinning. To promote fruiting, follow these steps:
- Open the bag once a day to allow fresh air to enter. This encourages pinning by increasing air exchange.
- Maintain high humidity inside the bag (around 90%) by misting the substrate lightly. Be cautious not to over-mist, as too much moisture can lead to aborts during the pinning stage.
- Monitor for mushroom growth and harvest the mushrooms just before the caps fully open to avoid spore release, which can interfere with future flushes.
Harvesting Your Mushrooms
When the mushrooms are fully grown, gently twist and pull them from the substrate. Avoid cutting the mushrooms, as this can leave behind material that may introduce contamination. After harvesting, continue misting the substrate and fanning the bag daily to encourage subsequent flushes. With proper care, the substrate can produce multiple flushes of mushrooms.
Dealing with Contamination
Although the Manure Mushroom Substrate is pasteurized, contamination can still occur if proper cleanliness isn’t maintained. Monitor the substrate for signs of contamination, such as strange colors, slime, or foul odors. If contamination occurs, it’s best to discard the substrate and sanitize your workspace before starting a new batch. Be sure to regularly inspect the substrate during colonization and fruiting to catch any issues early.
Conclusion
The Manure Mushroom Substrate - 5lb is an ideal choice for cultivating dung-loving mushroom species. By following the steps outlined in this guide for inoculation, incubation, and fruiting, you can enjoy multiple flushes of healthy mushrooms. Always prioritize cleanliness and ensure your substrate bag is properly sealed and maintained for the best results.
